
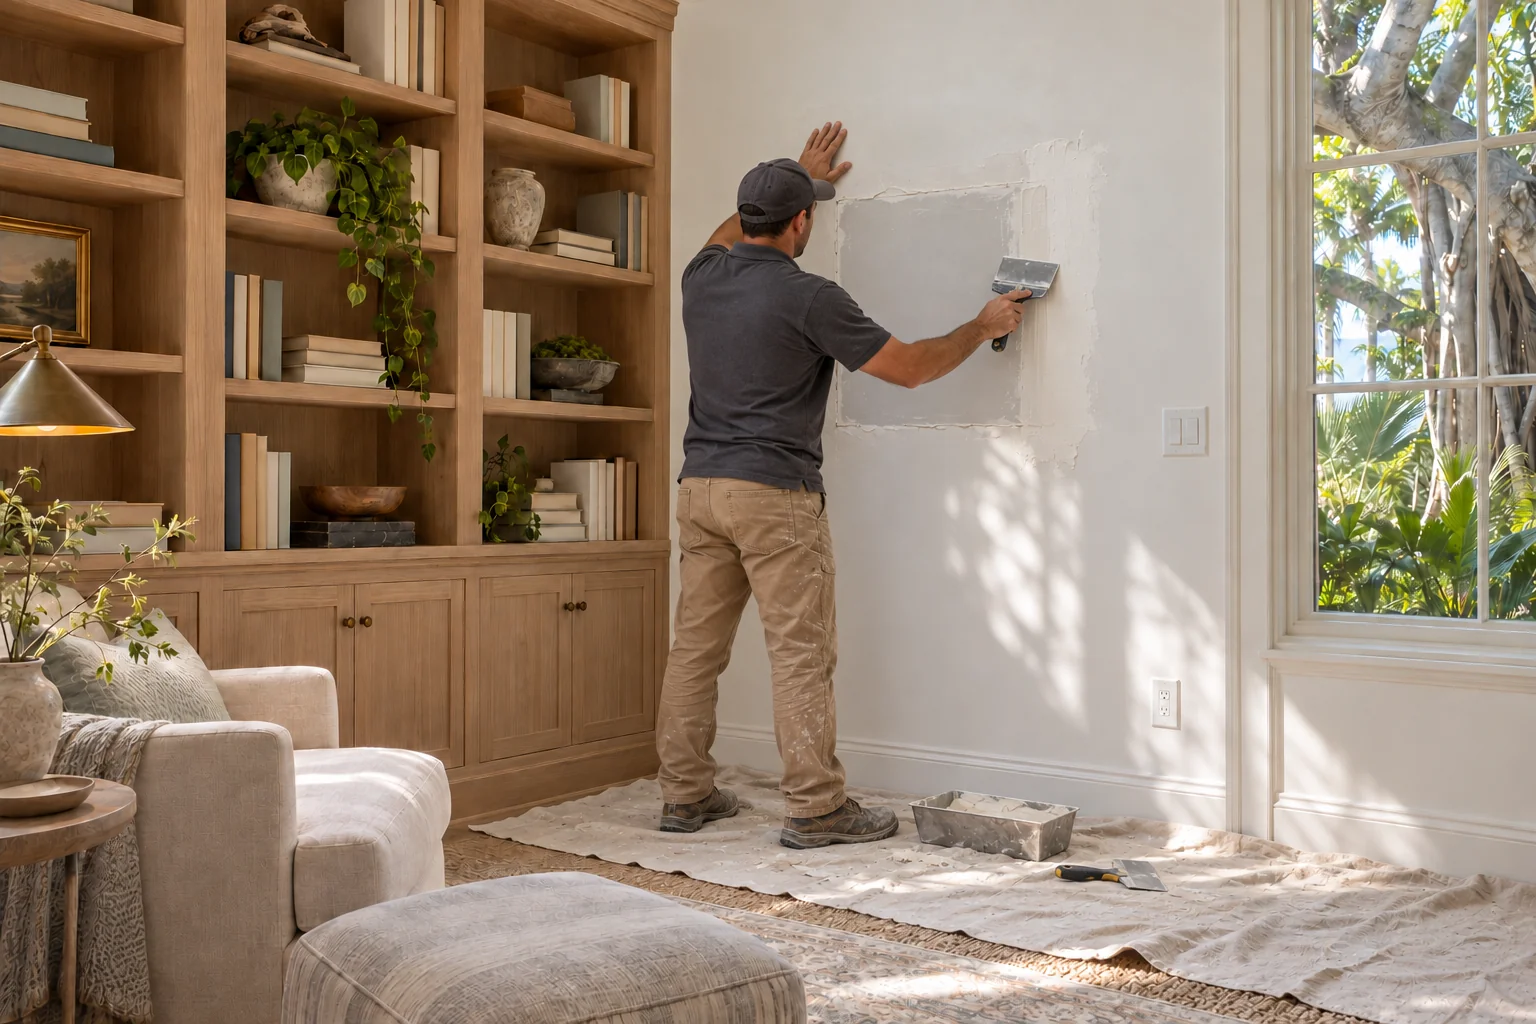
Understanding why a patch still shows
A patch may sit slightly proud of the wall, have a recessed edge, or carry a different texture. Paint can reveal those differences without being their cause. We look at the whole repair and ask which part is catching your eye. Photographs taken from the side can help show a ridge that disappears in a straight-on view. The repair plan may involve addressing the existing patch and widening the finish area rather than adding another small coat over its center.
Working next to built-in shelving
A library wall creates boundaries that can be useful for finishing, but the shelves also affect access and protection. Include the shelves, trim, and nearby furniture in your photos. Tell us whether books or decorative pieces can be removed before work and whether any finishes need special attention. We plan around the existing built-ins instead of assuming they will be changed. The visible wall area, not just the original damaged square, should guide a discussion about texture and painting.
Before & after
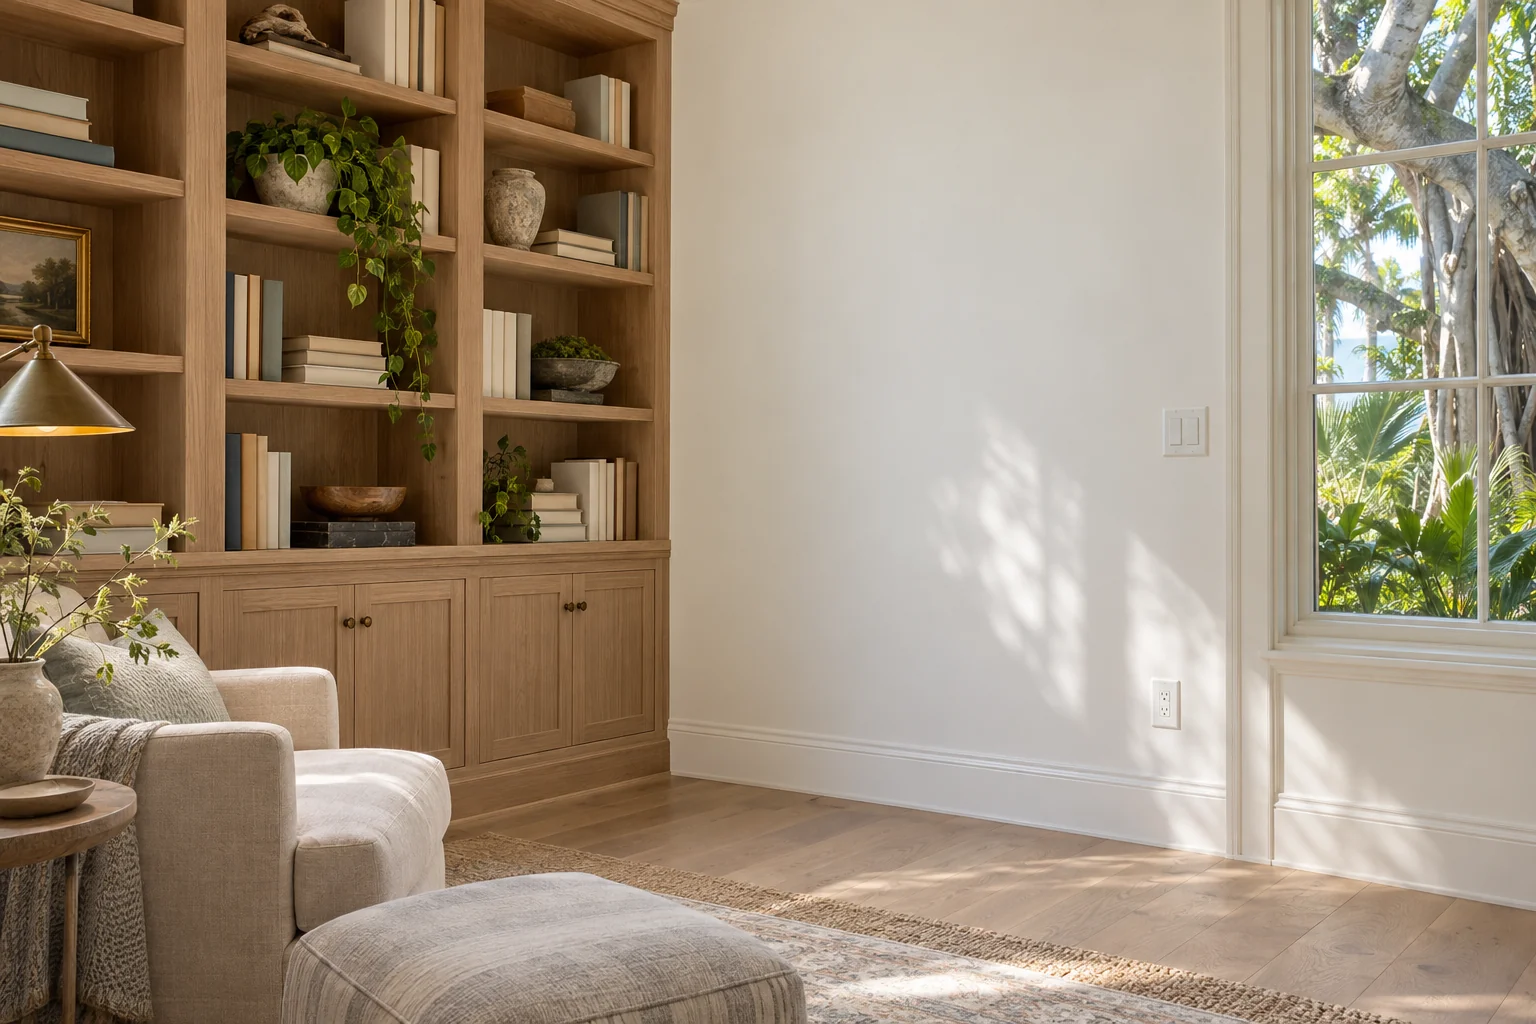
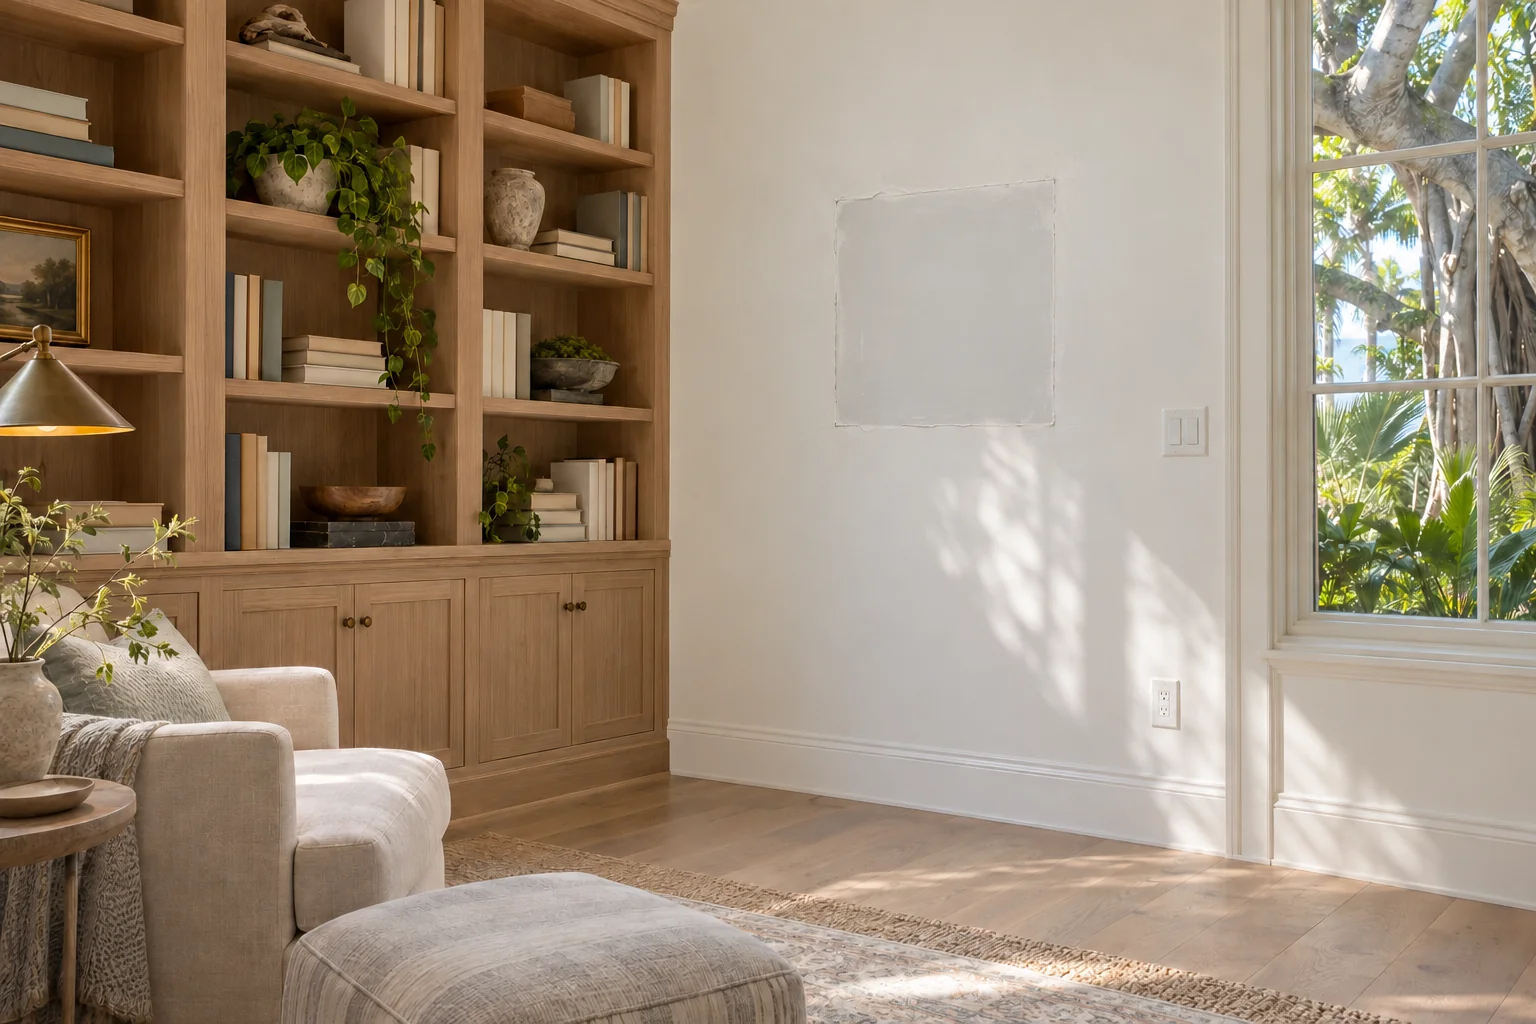 BeforeAfter
Smooth surfaces need a considered approach
Smooth and plaster-look finishes can show small variations when window light runs across them. A wider skim area may be appropriate in some situations, while other repairs can stay local. We assess the existing material before making that recommendation. If the wall is plaster rather than drywall, that should be part of the repair plan. We explain the intended finish in practical terms and avoid promising that a repair will be undetectable from every angle or in every light.
Keeping nearby finishes in the plan
White oak flooring, custom millwork, and upholstered furniture affect preparation even when the repair is small. Let us know which pieces can move and which must remain. We discuss floor protection and the working space needed to reach the surface. If another trade is still routing wiring or installing fixtures, complete that access work before final finishing. This is particularly useful in a home where a wall repair accompanies a larger project and several contractors may use the same room.
Paint information can help set expectations
Color is only one part of a paint match. Sheen, application, surface preparation, and the age of the existing finish affect the appearance too. Send the paint label if you have it, and point out any previous touch-ups. We can discuss whether the repaired area should be painted to a corner, built-in edge, or another natural break. Keeping the paint scope clear helps avoid the assumption that finishing the drywall automatically includes repainting the entire room.
Show the patch from more than one angle
Text us a photo, get a quote. Include your Hobe Sound location, a straight-on image, a side-angle view, and the surrounding room. Describe the result you are hoping to improve and any prior repair history. Our crew replies with next steps and explains when a site assessment would be useful. The main drywall repair page covers additional repair types. Nearby areas include Tequesta and Stuart, while the Hobe Sound hub lists our other wall and ceiling services.
Questions from Hobe Sound homeowners
I have a patch that does not match. Can you redo it?
Yes. We often fix earlier repairs that left a visible square or ridge. We take the patch back to a sound surface and blend the finish into the surrounding wall.
Do you work in homes with high-end finishes?
Yes. We protect floors, built-ins and furniture, keep dust contained, and talk through the finish before we start so the repaired area suits the room.
Do you work near Jupiter Island?
Yes. Hobe Sound and the surrounding Martin County neighborhoods are part of our service area.