
Identifying the damaged wall material
Plaster and drywall do not always look different once they are painted. An exposed edge from existing damage may offer useful clues, but you do not need to remove material for a photo. Tell us the home's approximate age if you know it and mention any renovations. We can assess whether the surrounding material is sound and discuss the appropriate repair. Where an older plaster wall meets a later drywall section, that junction may need particular attention during finishing.
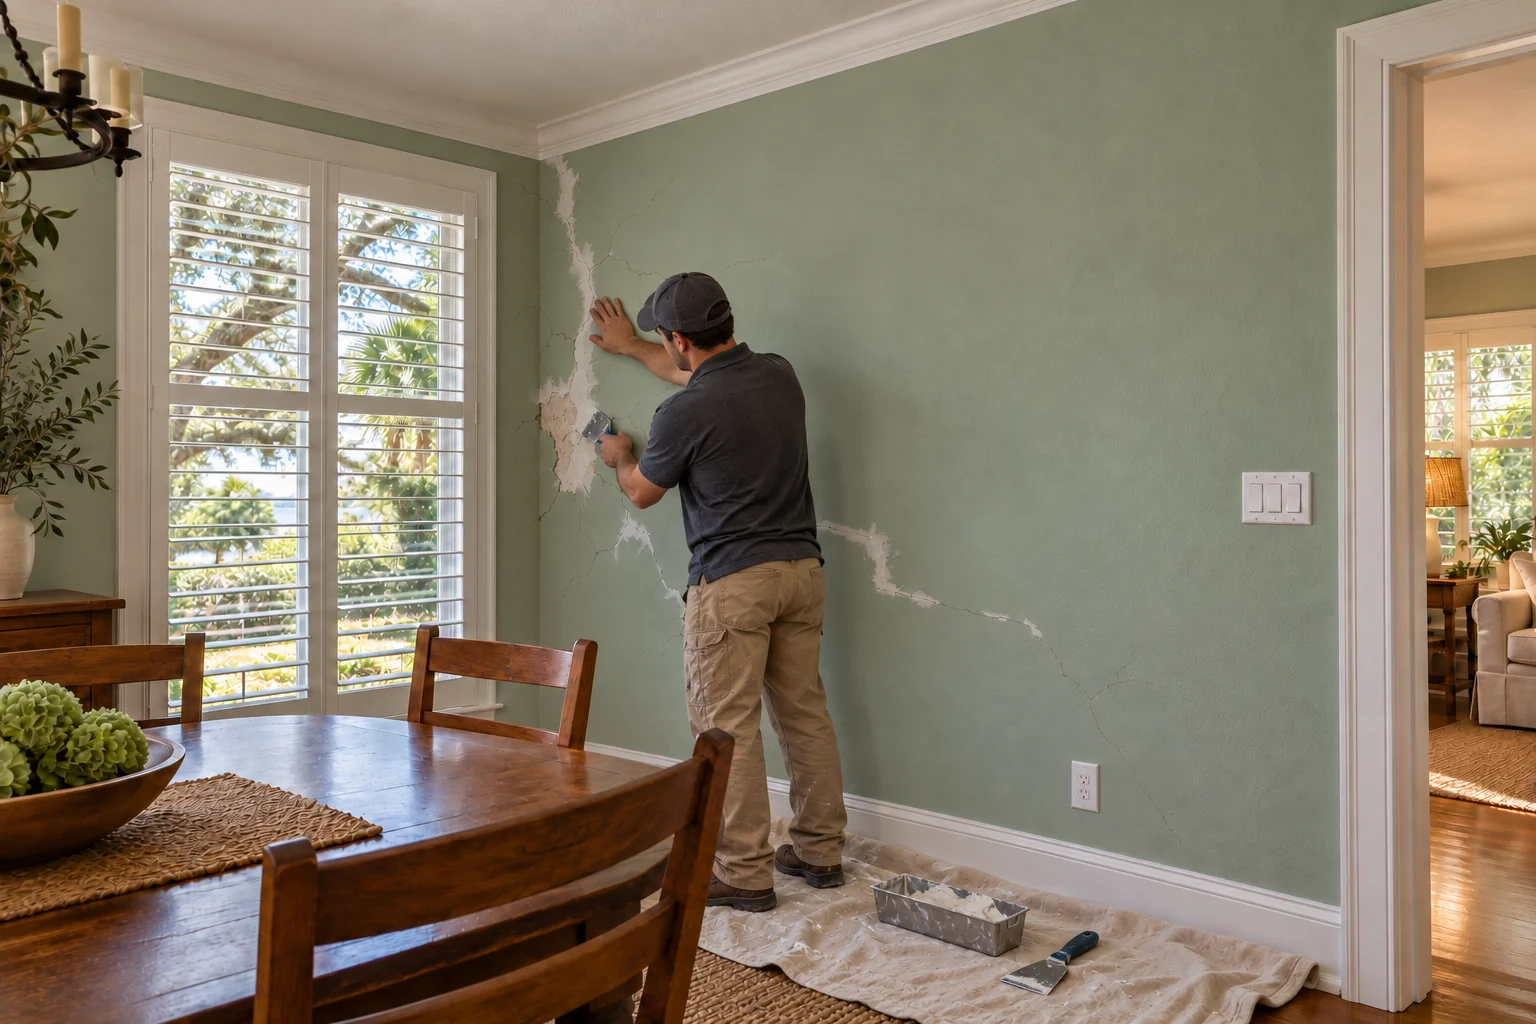
Branching cracks beside a window
Spiderweb cracks and a missing piece near trim deserve more than an assumption that paint will hide them. We look at the extent of the damage, prior repairs, and any evidence of moisture or loose material. Tell us whether the cracks have changed or returned after patching. Some conditions need an on-site assessment or another professional's input before surface repairs proceed. Our aim is to define the repair from the wall's condition rather than make a broad promise based on a photograph.
Before & after
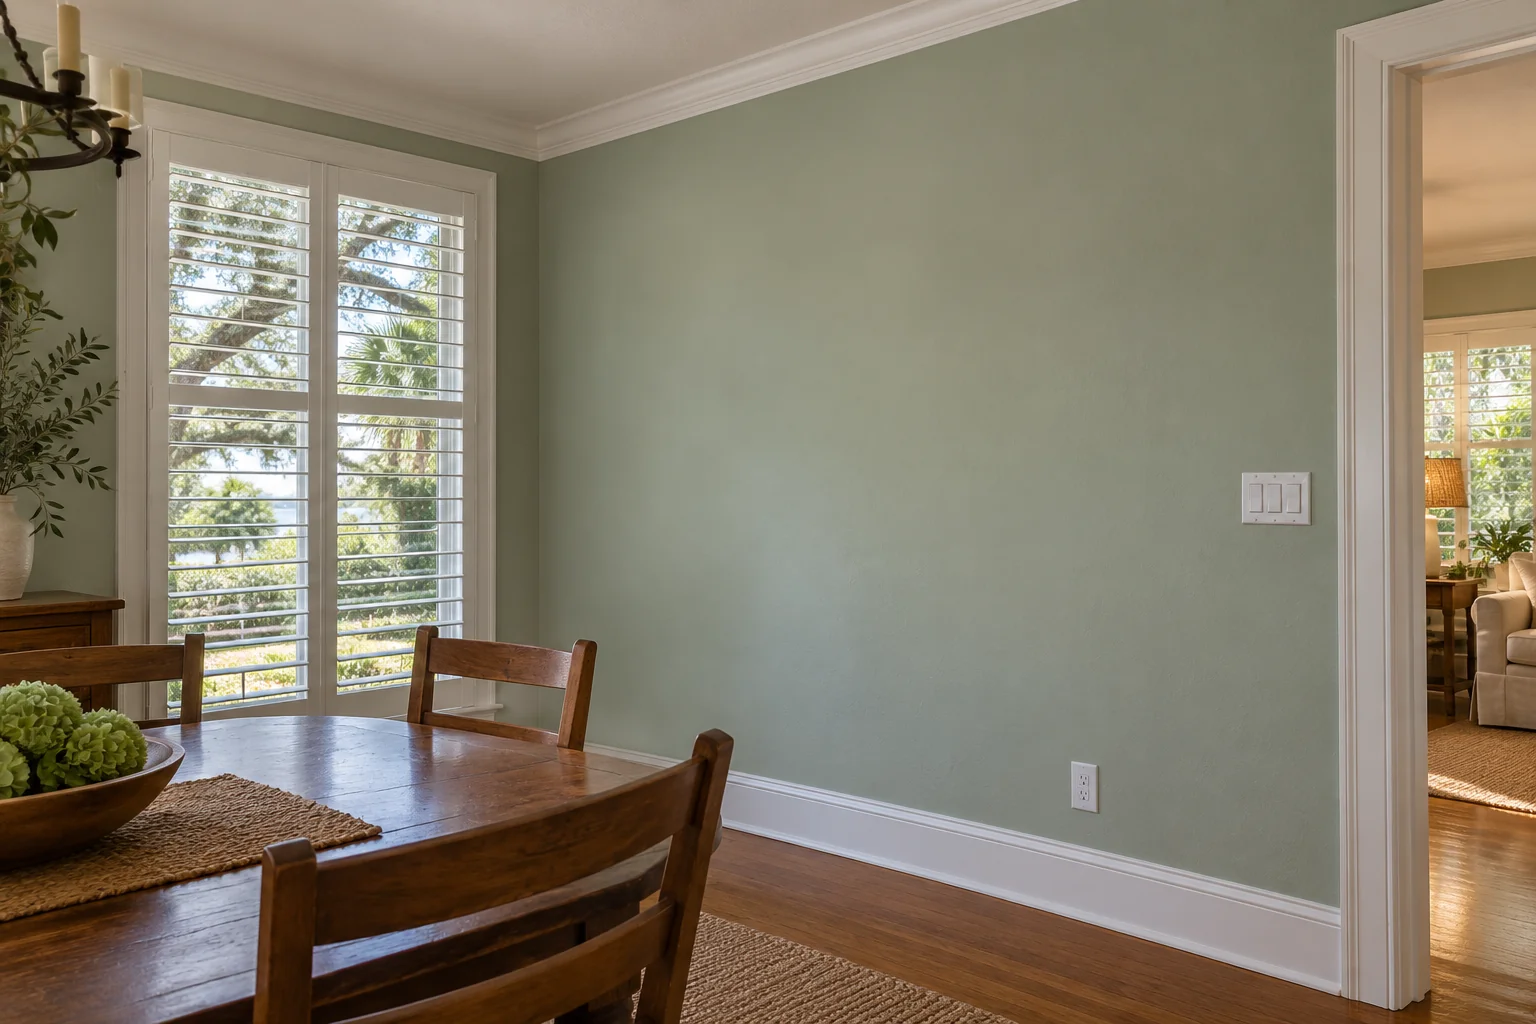
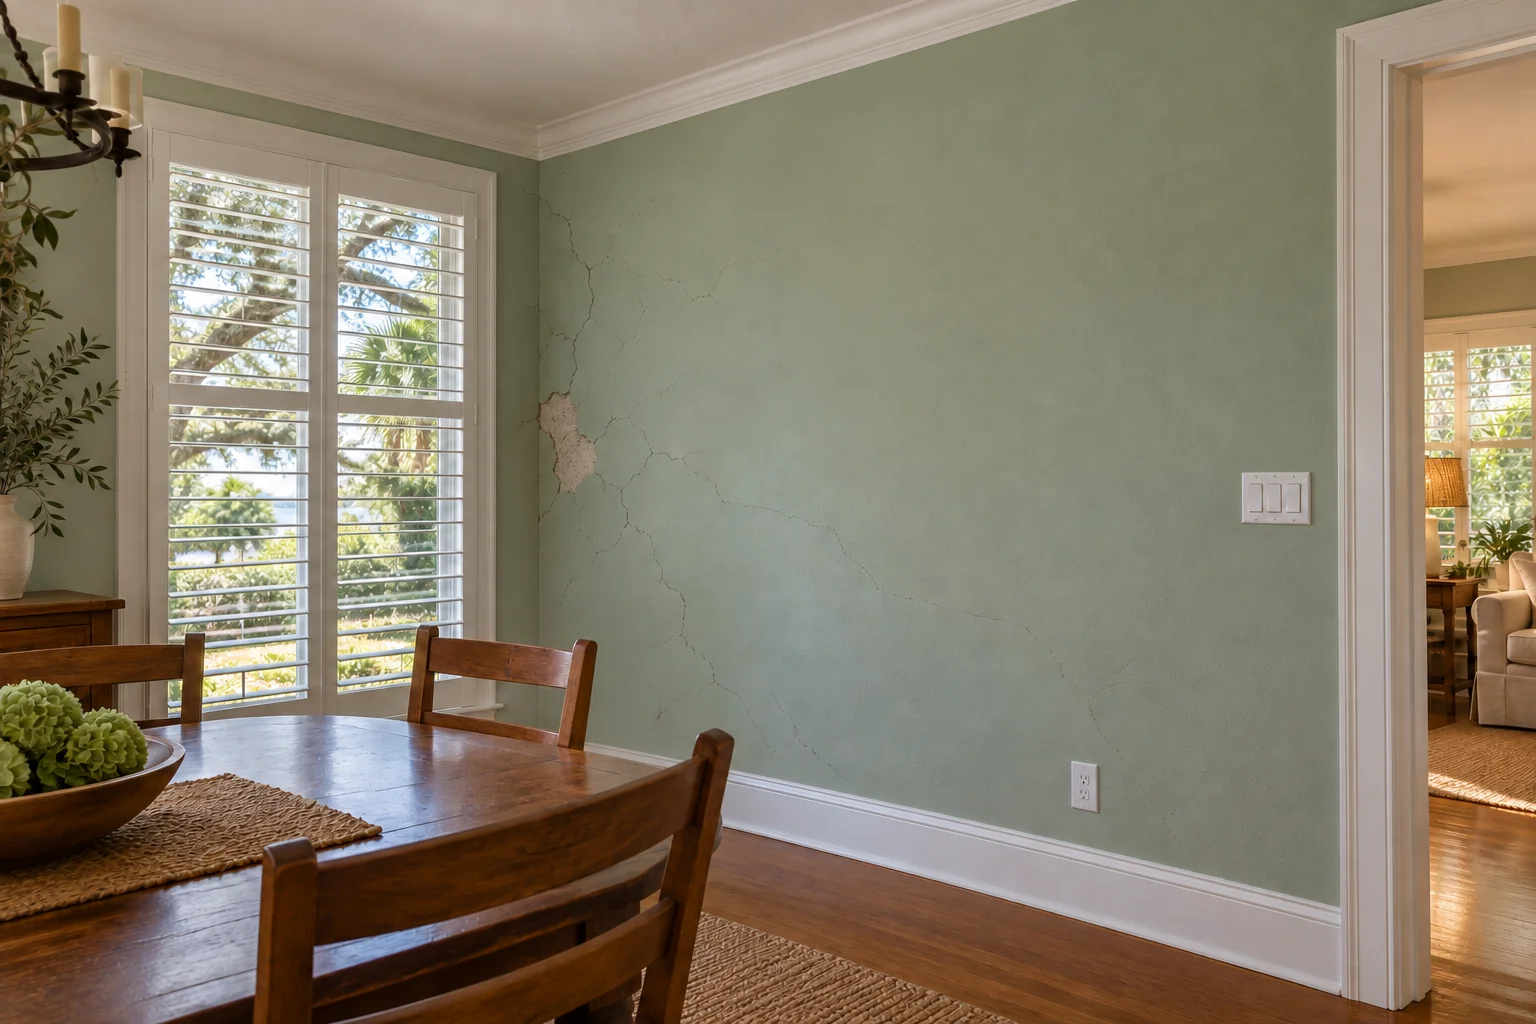 BeforeAfter
Preserving trim and room proportions
Crown molding, window casings, shutters, and baseboards can help define a repair area without changing the room's character. Include those details in the wider photos you send. We discuss protection and access around them, along with flooring and furniture. If trim will be removed by another contractor, coordinate that work before the final wall finish. If it is staying, the repair plan should account for the edges that remain visible beside the molding and around the window.
Finishing an older painted surface
A sage dining room wall or another established color can show a repaired area through texture and sheen, even when the color is close. We discuss whether a local blend is practical and where a broader paint boundary would fall. Earlier touch-ups and layers of old paint may also affect the surface. Share the paint label if it is available. The scope should distinguish preparing and repairing the wall from any painting needed to finish the room consistently.
After a leak or other trade work
If the damage followed a roof or plumbing issue, the source should be corrected and the affected area evaluated before the wall is closed. Tell us what has been investigated and whether an access opening must remain available. For electrical or renovation work, wait until the other trade confirms that its openings are ready for repair. This sequence helps avoid disturbing a newly finished wall and gives us a clearer picture of the materials and edges that need to be joined.
Send the details you already have
Text us a photo, get a quote. Include your Stuart location, a close-up of the damaged wall, and a full room view. Mention plaster if you know it is present, along with recurring cracks, earlier patches, and leak history. Our crew replies with next steps and identifies what requires an in-person look. The main drywall repair page covers additional repair options. Nearby service areas include Palm City, Jensen Beach, and Hobe Sound, with other services on the Stuart hub.
Questions from Stuart homeowners
Do you repair plaster walls in older Stuart homes?
Yes. Many homes near downtown Stuart have original plaster or a mix of plaster and later drywall. We assess what the wall is made of and choose a repair that bonds to it.
Will the repair hold up to Stuart's humidity?
Humidity makes it more important to repair the cause of any moisture first. On a dry, sound wall we use joint compounds suited to the job and let each coat dry fully before the next.
Can you work around original trim and crown molding?
Yes. We protect trim during the repair and finish the wall up to it, so the molding stays in place unless you choose to replace it.