

Start with the attic or plumbing source
A brown mark along a tray edge may appear some distance from the original leak. An attic AC line, roof opening or plumbing connection can send water along framing before it reaches the ceiling. We do not identify the cause from the stain alone. Tell us what happened, who checked the source and whether moisture readings have been taken.
If water is still entering, arrange the appropriate source repair first. A fresh coat of paint does not solve wet gypsum or an active leak. We coordinate the drywall stage around the work needed upstream.
Plan access around tall ceilings and finished floors
Tray ceilings and high rooms need a stable working position. The repair area may sit above a chandelier, an arched passage or a large piece of furniture. Wide room photos help us understand access before deciding what equipment and protection the work needs.
We discuss moving furnishings and covering nearby surfaces, including travertine or other finished floors. If your community has contractor check-in procedures, parking rules or permitted work hours, share those details when requesting the quote. They can affect how we organize access and materials.
Before & after
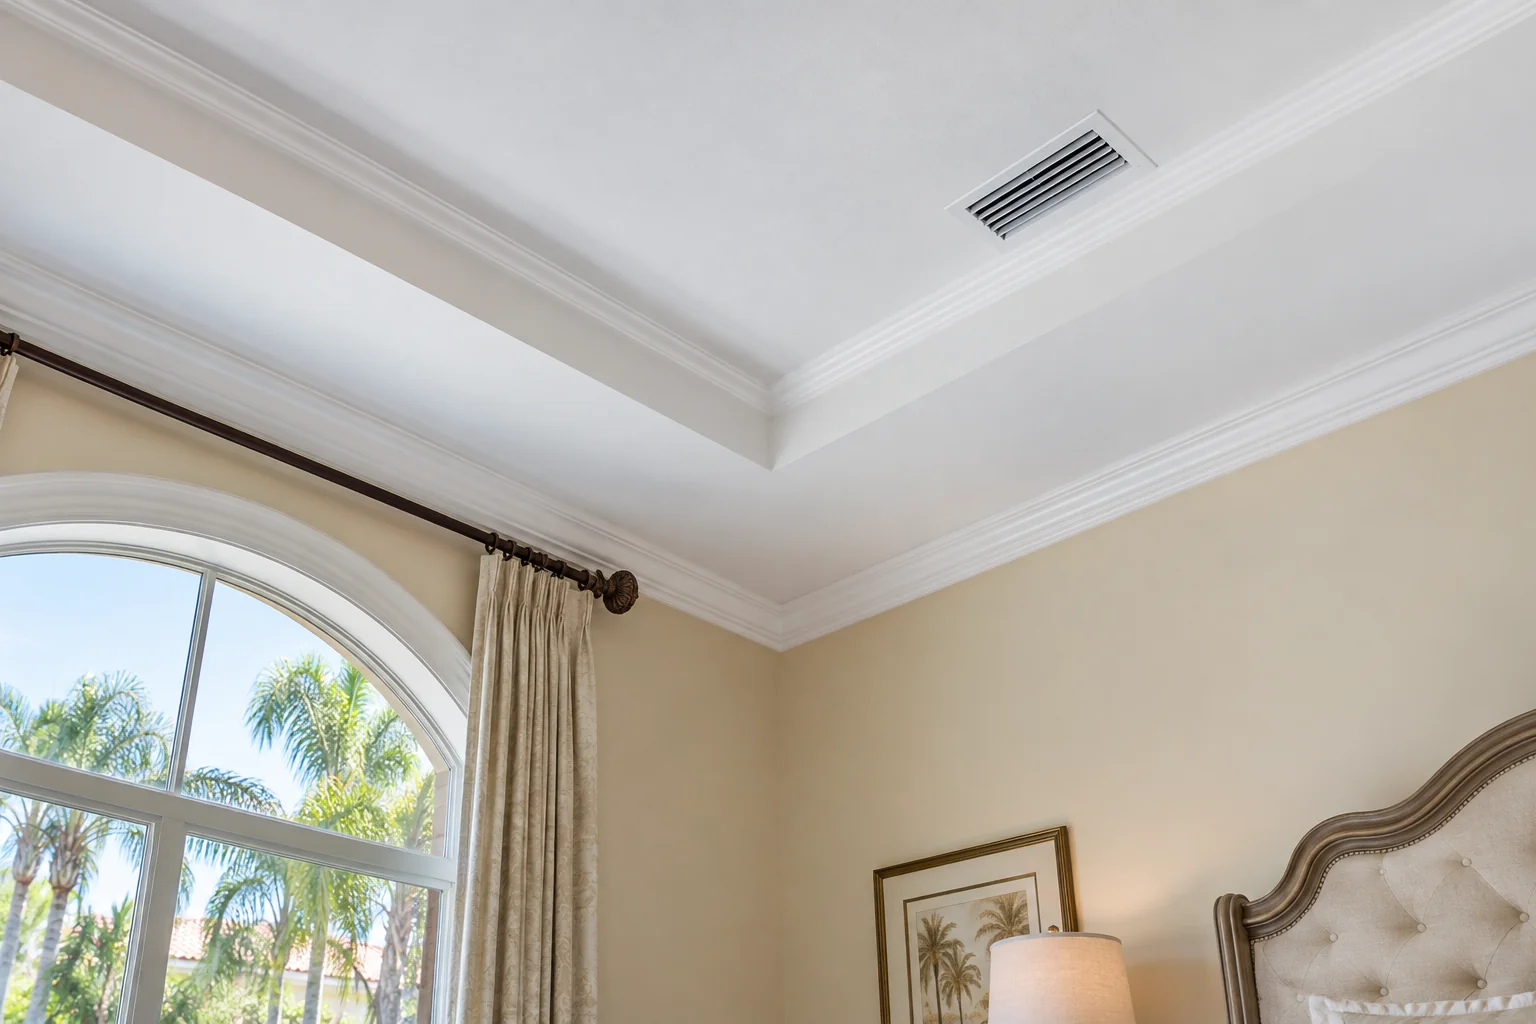
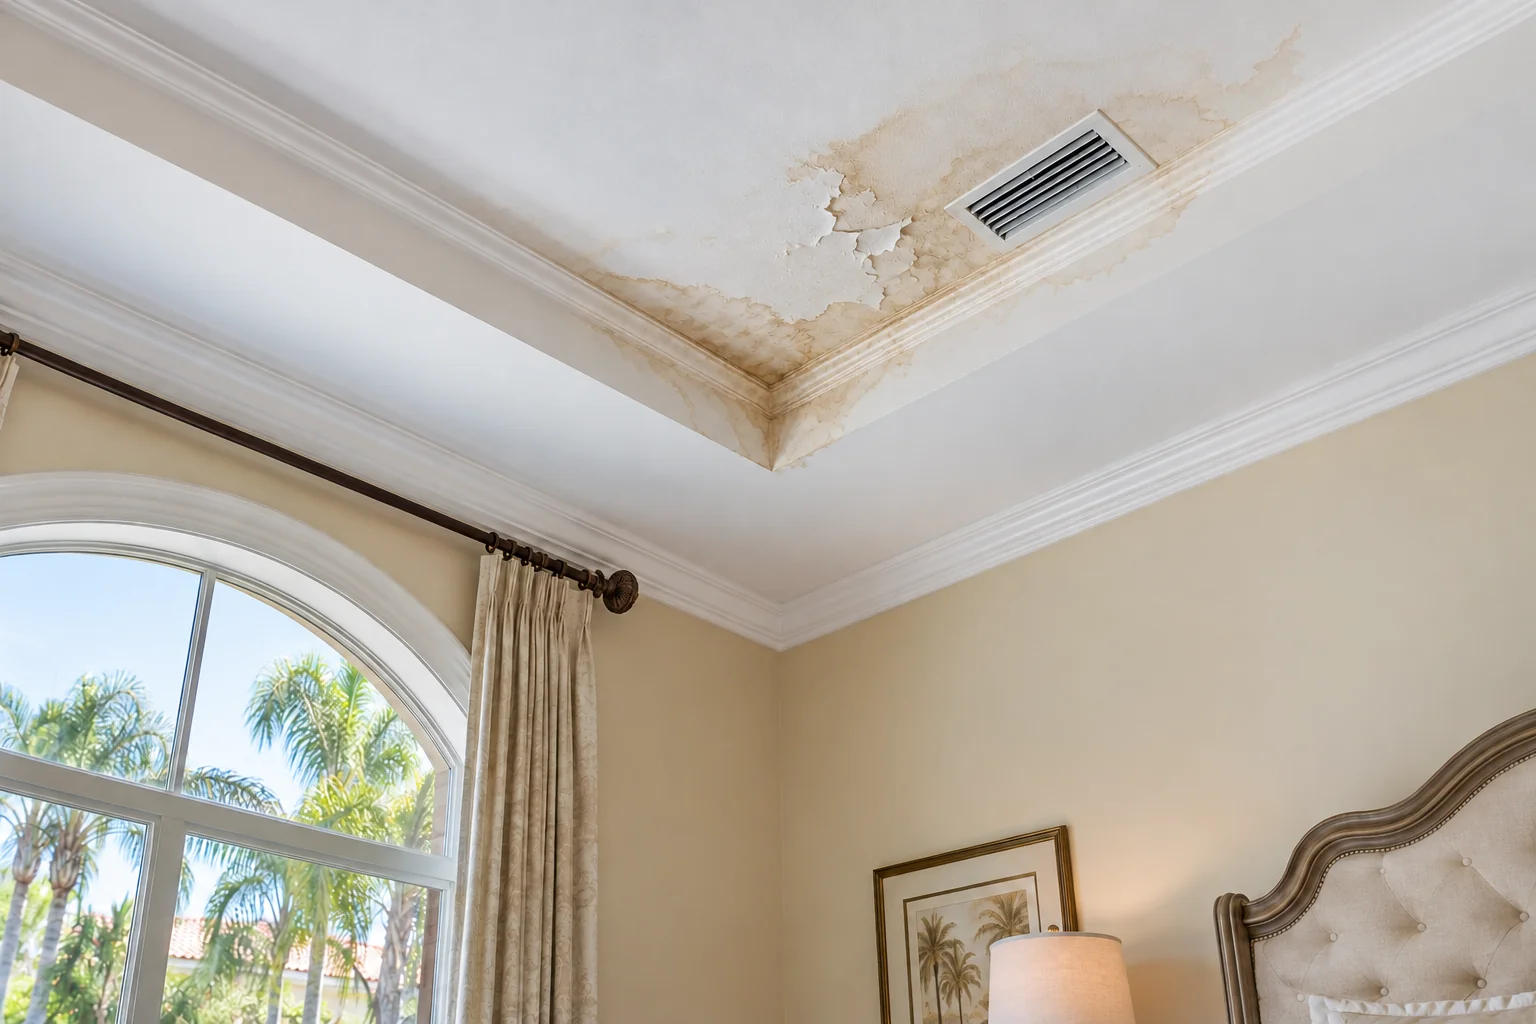 BeforeAfter
Replace material that cannot support a sound repair
Soft drywall, crumbling edges, loose tape and sagging sections need closer assessment. Where replacement is needed, we remove affected material back to a suitable boundary and plan secure support for the new panel. The opening may be larger than the visible stain because sound edges matter more than following the outline of discoloration.
Before closing the area, the water source must be resolved and drying must be verified. If the opening reveals another problem, we discuss the next step instead of concealing it behind new drywall.
Rebuild the tray detail and finish
A repair along a recessed ceiling edge has several surfaces to line up. We consider the flat field, vertical return and inside corners when setting the patch and finishing joints. Compound is applied in stages, with drying between coats, so the repaired shape can be evaluated before paint.
Window light often travels across a tray ceiling and makes surface changes stand out. We discuss whether the finish should be smooth or textured and how far the blending area needs to extend. A wider finish area may be appropriate even for a smaller opening.
Set the painting and documentation scope
Stain treatment, primer and final paint need to be addressed in the written scope. A spot repair can look different from an older ceiling because of sheen, fading or previous coats. Painting to a natural break may provide a more consistent result.
If you are working alongside an insurance claim, keep your source-repair records and photos. Ask us about an itemized drywall scope. Your insurer determines coverage and payment; the repair plan does not establish what the policy will cover.
Text us the ceiling and the whole room
Text us a photo, get a quote. Send a close view of the damage, a wider view showing the tray detail and an estimate of the ceiling height. Include your Palm Beach Gardens community and the status of the leak repair. We reply with the next steps and explain when an on-site assessment is needed.
Questions from Palm Beach Gardens homeowners
An AC line in the attic leaked onto my tray ceiling. Can you fix it?
Yes. Once the AC line is repaired, we replace the damaged section and rebuild the tray detail.
Will the repaired area match my tall ceilings?
We blend texture and finish across the repaired area. Painting the whole ceiling plane often gives the most even look.
Can you work in my gated community?
Yes. Let us know about gate access and contractor rules, and we plan the visit around them.