
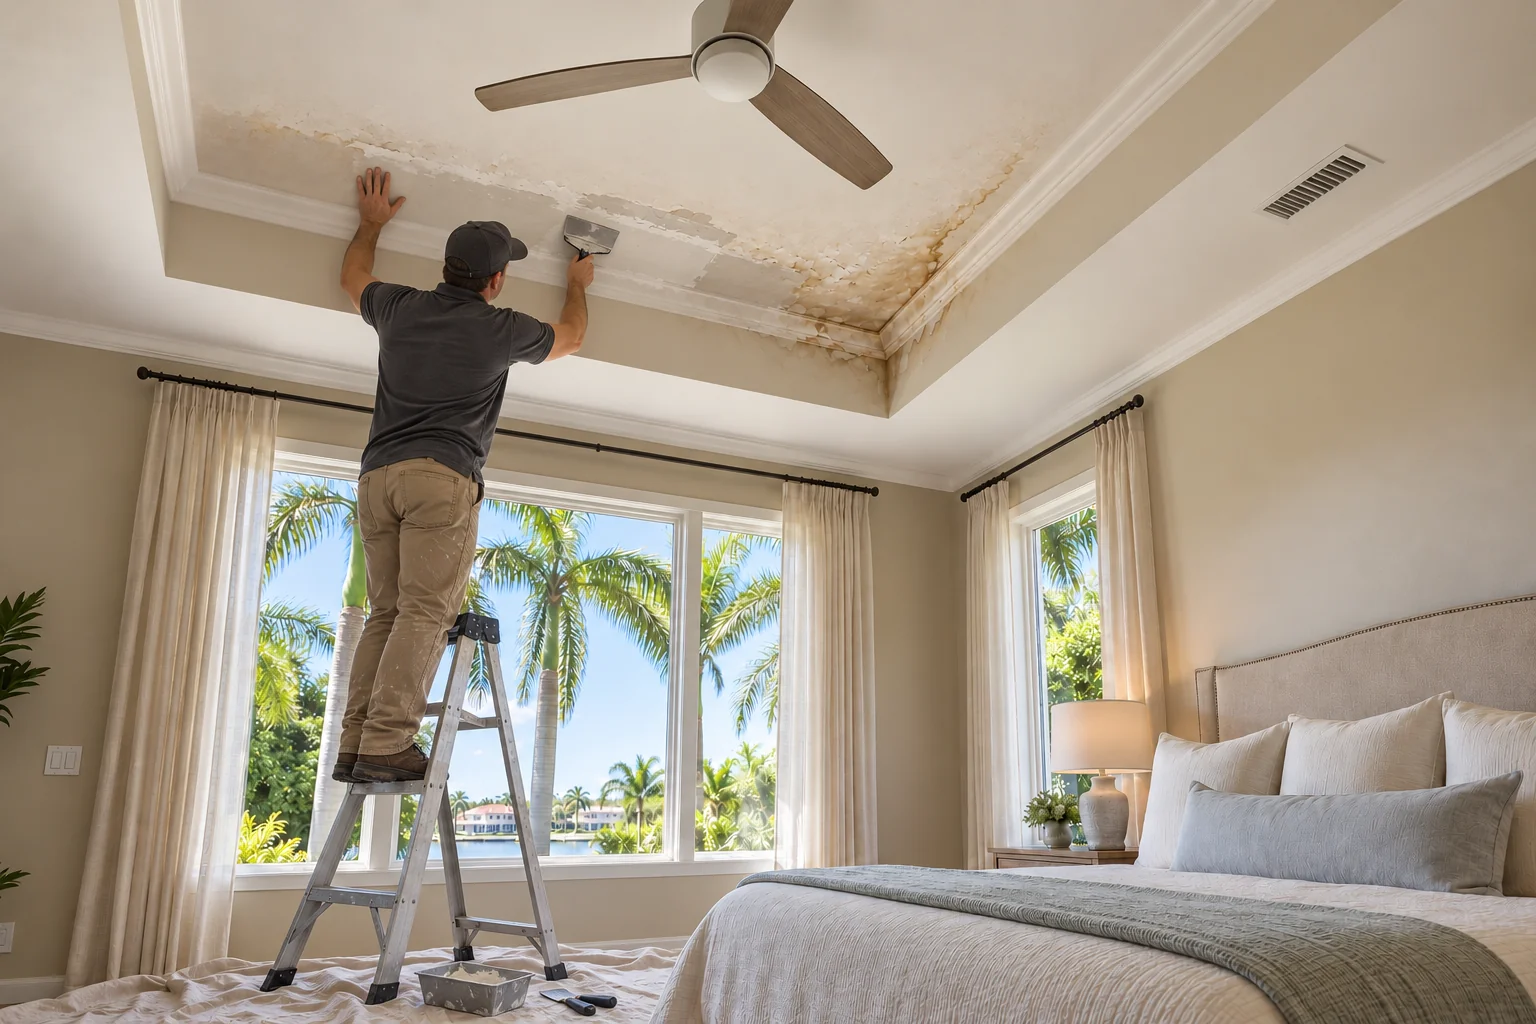
Understand the path of the water
A stain along a tray edge may follow a joint or framing member rather than sit directly beneath the source. Roof leaks, plumbing problems and AC drainage issues require their own investigation. We ask what the source repair involved and whether the affected space is ready for drywall work.
Tell us if the stain has changed after rain or after equipment use. Those details can help the appropriate trade investigate the problem. We do not treat the outline of the mark as proof of the cause or of the full repair area.
Make room for work above a furnished bedroom
High ceilings need more than a close-up photo to plan access. A bed, tall headboard or built-in cabinet can restrict the position of working equipment. We discuss furniture clearance and protection before arranging the repair so the ceiling can be reached without improvising around valuable finishes.
Include the room's height and the location of ceiling fans or lighting in your request. In a large primary suite, a tray may have several levels or returns. Photographs from the doorway and beneath the damaged edge help show how those surfaces meet.
Before & after

 BeforeAfter
Remove unsound material without guessing at the boundary
Wet drywall can lose strength even when the painted surface is mostly intact. We assess sagging, soft sections, damaged paper and loose seams. Where replacement is required, the opening is planned around sound material and the support needed for the new panel.
The area must be ready to close, with the source resolved and drying verified. If remaining insulation, framing or adjoining material needs attention from another trade, that work comes before the finish repair. We explain changes in scope if the opening reveals more than the original photos showed.
Restore a crisp tray edge and smooth field
The flat ceiling, inside corner and vertical face of a tray need to align as a group. We install replacement material with those relationships in mind, then finish the joints in stages. Drying between coats is part of the process, not time that can be removed by applying a thicker layer.
Smooth finishes show changes in surface level under wide windows and angled light. We discuss the extent of blending or skim coating needed around the repair. The goal is a consistent transition, while recognizing that existing surfaces and paint affect the final appearance.
Decide where painting should stop
A small patch does not always support a small paint area. A bedroom ceiling may need painting to a corner or tray boundary to avoid a noticeable change in sheen. Stain treatment and primer also need to be included where appropriate, rather than relying on finish paint alone.
We clarify what the quote covers around crown molding, light openings and adjacent walls. If an insurance claim is underway, keep photos and source-repair documents. We can discuss an itemized drywall scope, but the insurer determines whether and how that work is covered.
Send the ceiling shape as well as the damage
Text us a photo, get a quote. Include close and wide photos, approximate ceiling height and your Palm City location. Tell us what caused the water damage if that has been confirmed, who repaired it and whether drying has been verified. We reply with practical next steps for the drywall portion.
Questions from Palm City homeowners
Can you repair water damage on a tray ceiling?
Yes. We replace the damaged section and rebuild the tray edges so the lines stay straight.
How much of the ceiling needs to come out?
Only as much as is damaged. We check with a moisture meter and cut back to sound, dry drywall.
Can you work with my insurance claim?
Our written scope describes the damage and the repair, and you can share it with your adjuster.